I have never been one to shy away from a project. I’m a tryer first and foremost. I like to see if I can figure out how something can be done/fixed before spending the money on professional tradesman. This also allows me to research the project, learn all I can about it and if I have any follow up questions, off to Home Depot I go with a wealth of knowledge to talk shop with the sales associates.
Over a year ago, I had my kitchen renovated with an undermount sink installed. It’s past it’s warranty and I noticed the clear caulking that seals between the quartz countertops and the stainless steel sink was wearing away.
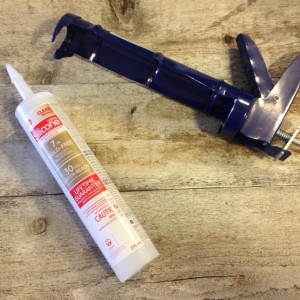
Off to Home Depot I went and picked up GE 100% Clear Silicone Caulking for $1.27. I already had the caulking gun from previous projects.
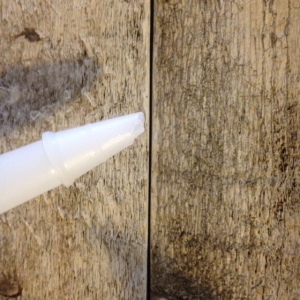
First I used a pair of scissors to cut the tip of the clear silicone tube on a 45 degree angle. This allows you to better direct the silicone in a neat and tidy slim line.
Use either the long metal wire on the caulking gun to insert it into the tip of the caulking tube to puncture through the protective seal inside. I used a wire hanger and that worked well.
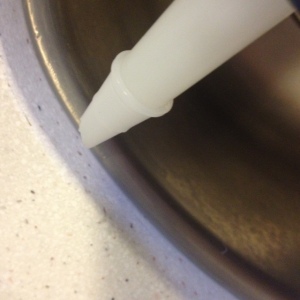
Line up the end of the tube to the area you want to seal and pull the trigger on the caulking gun. This will push the sealant towards the tip. It will take a few pulls of the trigger until it starts to work so don’t worry if it doesn’t start working right away.
Grab some paper towels or some rags on hand to use for any excess. Go slow while you make your way around the area, don’t worry if there is more in some areas and less in others. Once you’ve covered the whole area, release the trigger on the caulking gun to stop the pressure of the sealant from coming out the end. Place the sealant and the gun on some rags in case some excess comes out.
With a rag or paper towel in one hand, use your finger and push the sealant into the area. Don’t press too firmly but move smoothly around the whole sink. Removing excess onto the rag or paper towels. Keep doing this until all excess sealant is removed and a thin seal is covering the whole area.
When you are satisfied, follow the drying instructions on the tube. Minimum 30 minutes of dry time with a full cure of 24 hours before using with water.
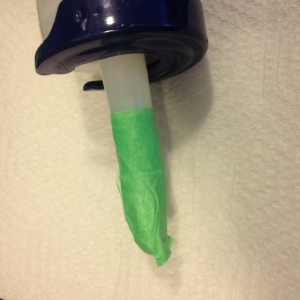
I used some painters tape to wrap the end of the tube to preserve it for future use.
And there you have it. A cost effective way to Reseal an undermount sink.
J.


